Thursday, August 30, 2012

Pillow from a Hoodie

Jack, our dog, is so "ruff" with our pillows, so when we go to replace them, we don't replace them with anything too fancy. They will just get chewed up by Jack anyway! So the girls had a couple of old hoodies that were in the give away sack.  I drug them out and used the opportunity to teach Hailee how to use the new sewing machine.

So first we cut the arms and the hood off of the hoodie.
Then I had Hailee decide if she wanted the seam on the outside or the inside. She picked the outside.
She chose a scribble stitch.
She filled the pillow with poly-fill.
Oh a closer look!  The fun of making something yourself. It says, "HAILEEHAILEE"
We haven't figured out how to stop it after it sews out the word.  I can just hear it now, Hailee is taking the pillow from one of her sisters who can't reply with, "...well it doesn't have your name on it" :) Brilliant :)
and now, we shove the poly-fill to the other side so that she can sew it closed
Now she is fluffing the pillow to spread the poly-fill back out.
Here it is, along with the other hoodie pillow we made. I had to take the picture quick, Jack wanted to test Hailee's sewing skills...will it survive being grabbed with teeth and slung from side to side...yes it will...or has so far!

Saturday, August 25, 2012

Possum Belly Bakers Cabinet

If were at a garage sale and you saw a "work bench" that looked like this...
Would you buy it for $1?

My mom did, but she also realized that it wasn't really meant to be a work bench; in fact, it is a possum belly bakers cabinet. The drawers are out of it here so it is difficult to see that the two bottom drawers (on top of the top drawers in the picture) are deep rounded tin (on the inside, to keep rodents out) drawers that they used to store flour.

Since I don't know anything about these cabinets and my mom is the one that performed this marvelous transformation, I asked her to write about the process that she went through:

"The time on my table I don't know about. I just worked on it when I had a few hours to spare before I got too hot outside. The paint was that old lead paint so I had to drag all the pieces outside to work on it. I finished it within 2 weeks. Mostly working 2 or 3 hours a night. The paint stripper I started with I didn't have very good results with and went thru a whole can of it. I got a paint and epoxy stripper and that seem to go a little faster. I think someone had applied some kind of antiquing varnish over the top of the old green paint which made it really hard to get off. I did some sanding with a palm sander plus sanding some by hand also. The grooves on the legs were the hardest to get the paint out of. The boards on the top we had to remove because it was being used as a work bench and had oil and grease on it. I found the enamel top at a flea market for $25.00. Which was really lucky because it is bigger than the usual size. It was 48 inches long. The top is a little worn but just adds to the charm of it. What I think is really neat about the cabinet was apparently the person that used it (most likely the housewife) was definitely right handed because the top of the right top drawer where she opened it without using the handle was worn down considerably! I wish I could know who owned the table, if she was like my Grandma and made biscuits everyday on the breadboard and covered them after the meal with a tablecloth and Grandpa would grab one or two out  with a piece of sausage when he came in for a break from the fields. A funny story : When my Grandma sent 2 of my aunts to the house to make biscuits for supper and they messed up the ingredients and was scared to tell Grandma what they did because they had wasted the lard and flour which was hard to come by in those days. They were afraid they was gonna get a whipping so they went out and dug a hole under a bush and buried it! They made a new batch and never did tell anyone even as adults till after Grandma died!!! How things have changed over the years! Anyway, that's my deal about the possum belly cabinet".
Notice the rounded "possum belly" drawers.  This looks amazing!  Mom was amused by my mentioning her table-thing and said, "Yes I guess I do have a table-thing. I consider it my rescue effort for them instead of them going to the trash or wherever. How's that for an excuse!??"  I love it! Save the Plant, Save the Whales, and Save the Tables :)  

These cabinets (on ebay) are listed  in the amounts of $300 to $1500!  

Wednesday, August 22, 2012

DIY Table Transformation

While Brandi was up, we also picked up my mom and went to my favorite antique store.  While we were there my mom found this table that she thought I needed (either she forgot that she is the one with the table-thing or she has run out of table room...probably the later).  I was unsure but I did like the curved legs...and I needed something for my diagonal wall.  Brandi told me later that she kind of liked it, but didn't really like the curved legs, ha! Mom said, put it under the girls picture on the diagonal wall (hmm...same place I was thinking), and if you have any of the paint left from the picture "frame", paint the table the same color. I start to visualize it...

me: mmm, how much is it
Mom: $10
me: Sold!

It will be a fun project for Brandi and me, so I'll risk the $10.

Here is the table, put in the exact place I want it to go.
Our paint clothes are on and we're ready for the table transformation
First we sanded it all over, so that the paint would stick!
Next we spray painted the table with a darker blue
We let it dry over night and then brush-painted on the Tiffany color (left over from Aubree's party).  Once it was dry, I used the palm sander again and distressed it. I thought at this point I might ruin it but I kept reminding myself that it's a $10 table :) It's impossible to ruin a $10 table :) It's difficult to see the distressness of the table...it's a little more obvious in the picture above.  Notice the edges and the worn lines on the flat surfaces.
Here is the finished product.  The picture is a $10 poster and the frame was repurposed from Sadie and Aubree's parties, which was repurposed from an old window frame and chicken wire.  I flipped it to the "wrong" side so that the picture would fit better (clipped on with mini clothespins) and it looked a little rougher.  The book is On Oregon Trail, I had purchased it in elementary from the used book sale (wow, guess I've always been thrifty :) ) I tied the book with jute and topped it with a flower hair clip that Brandi had made. 
When Dustin got home, I got to play my favorite game, "How much do you think this cost?" :)


Monday, August 20, 2012

Bird Tea Towels

This weekend my best friend Brandi came to visit.

We met in college during Summer session.  There were three of us that usually sat together and visited but one day the other girl wore a weird sweater and an ugly long skirt and we realized that she wasn't as close a friend as we thought.

Now before you jump to any conclusions you should understand where this understanding came from.  It wasn't the other girl's bad taste...it was the fact that neither Brandi or I could tell her!  If either Brandi or I had worn the skirt, the other of us would say, "What were you thinking...?"
Here's the other difference, it doesn't even matter what the skirt wearer (Brandi or I)'s reply would be, (e.i. "I'm going through a weird skirt phase, I'm trying to protect my skin from the sun"...) it wouldn't even matter, it's just about being close enough to a person to tell them your opinion, and about having a strong enough sense of self to listen, but still do whatever you want! It would've made the other girl cry :(
Brandi and I at graduation

Brandi and I had most of our classes together and worked on multiple projects together; so when I found out she was coming up to visit I immediately began looking up classes that we could take together, cooking, crafting, basket weaving...anything I could find, but after not really finding anything that jumped out at me, I decided we could just make up our own projects!

Also, I had just bought a new sewing machine and had a sewing class the week before so I was "sew" excited about her and I playing with my new machine!  Brandi and I have a lot in common; we have an eye for what looks good, we're thrifty, we love the hunt of a good bargain, and a coincidence that we both were Accounting majors?...I don't think so! 

So when Brandi complimented me on my tea towel from Anthropologie, I said, "Thanks, it was $12, don't use it". It was settled, we would make our own applique tea towels for a fraction of the price, that could be used. 

We found a cute  but simple pic:
Traced it and chose our material (still the same $3 box of garage sale material).
Brandi's bird
my 3 birds (symbolizing, Brandi, me, and the girl with the weird skirt, j/k!)
When taking my sewing class, my sewing instructor said, "Do you sew-on any appliques?"  (I sat there thinking through the context clues with a blank stare)  I finally gulped and said, "Is that the thing where you take a thing and sew it on other thing, like...letters and stuff?"  I felt like an idiot, but she said, "yep, that is sewing on appliques!" Yeah, I got it right, I didn't know there was going to be a quiz, lol!
Brandi, sewing her bird on.

We used the standard foot (B) and a blanket stitch to move around the applique and around the edge of the muslin fabric.
The look of the stitch from the back
My 3 birds, two outside birds sewn on.
The finished project!  It's hard to tell the exact cost, probably should be less than $1 a piece, but I used up half the spool of thread because I put the bobbin in backwards.  It kept clumping up and I thought the machine was broke until I replaced the empty thread and re-threaded the bobbin!  If only the machine would've come with an instruction manual...that wasn't so completely boring that I could've read it, and known what the problem was! 


Monday, August 13, 2012

Transition Day

To get the kids ready for a new school they have transition day.

Felicity is starting Middle School and Hailee is starting high school. Aubree is a Junior, but is a Freshmen mentor so she also had to go to Transition Day.  The two girls were nervous and excited about starting a new school so I took Hailee to her friend's house to get on the bus with her 3 BFFs.
Hailee & her 3 BFFs :)
On the way back I passed Aubree on the road and she was waving like crazy :) I pulled in the driveway and Felicity was walking out of the house to met her friend at the bus stop (across from our house).  I realized that I hadn't taken pictures, since it wasn't technically their first day. Then I realized that one of the girls (anonymous :) ) was wearing her sister's jacket without permission, and it did look good with the outfit...so I knew taking pictures might cause a conflict :)

I watched as Felicity waited for the bus but she and her friend were giggly and nervous so I went inside to give them their space.

Then it hit me, Aubree just drove to school, Hailee is in High School and Felicity is in Middle School!...and the tears started to roll...
They should still look like this...where did the time go?

Aubree and Hailee, at Felicity's 6th grade recognition


Felicity-6th Grade Recognition

Then I heard a bus. Felicity and her friend were screaming in excitement.  I couldn't let her see me, but I wanted to watch her get on the bus so I went out the back side of the house to see, but I was too late, so I ran to the other side of the house to see the bus go by...

Just then I saw the bus stop and the two girls getting back off the bus, laughing and basically freaking out!  They were on the wrong bus.  The Freshmen on the bus realized it was Hailee's little sister that got on instead of Hailee so they yelled at the bus driver to "Stop the Bus"!

Both girls were mortified, and I couldn't help but laugh, laughing so hard they heard me and Felicity accused me of creeping on them, lol!  

They did end up getting on the right bus but they will probably never hear the end of this.


Saturday, August 11, 2012

So today while cleaning up the breakfast mess, I looked up and saw an overripe banana that would be perfect for banana bread.  I grabbed the cookbook that I thought had the banana bread recipe but when I opened the cookbook I saw the recipe for Carmels! (There is a red line under the word, so it may be spelled incorrectly, but this is exactly how it was spelled in the cookbook). Dictionary.com states this:
caramel 
1725, from Fr. caramel "burnt sugar," ult. from M.L. cannamellis,traditionally from L. canna (see cane) + mellis "honey;" thoughsome give the M.L. word an Arabic origin.

either this is what they meant, or I'm making something completely different named after Mount Carmel 
Carmel  (ˈkɑːməl) 
 
— n
Mount Carmel  a mountain ridge in NW Israel,
extending fromthe Samarian Hills to the Mediterranean.

either way, it sounds delicious!
Sadie and Aubree, ready to help!

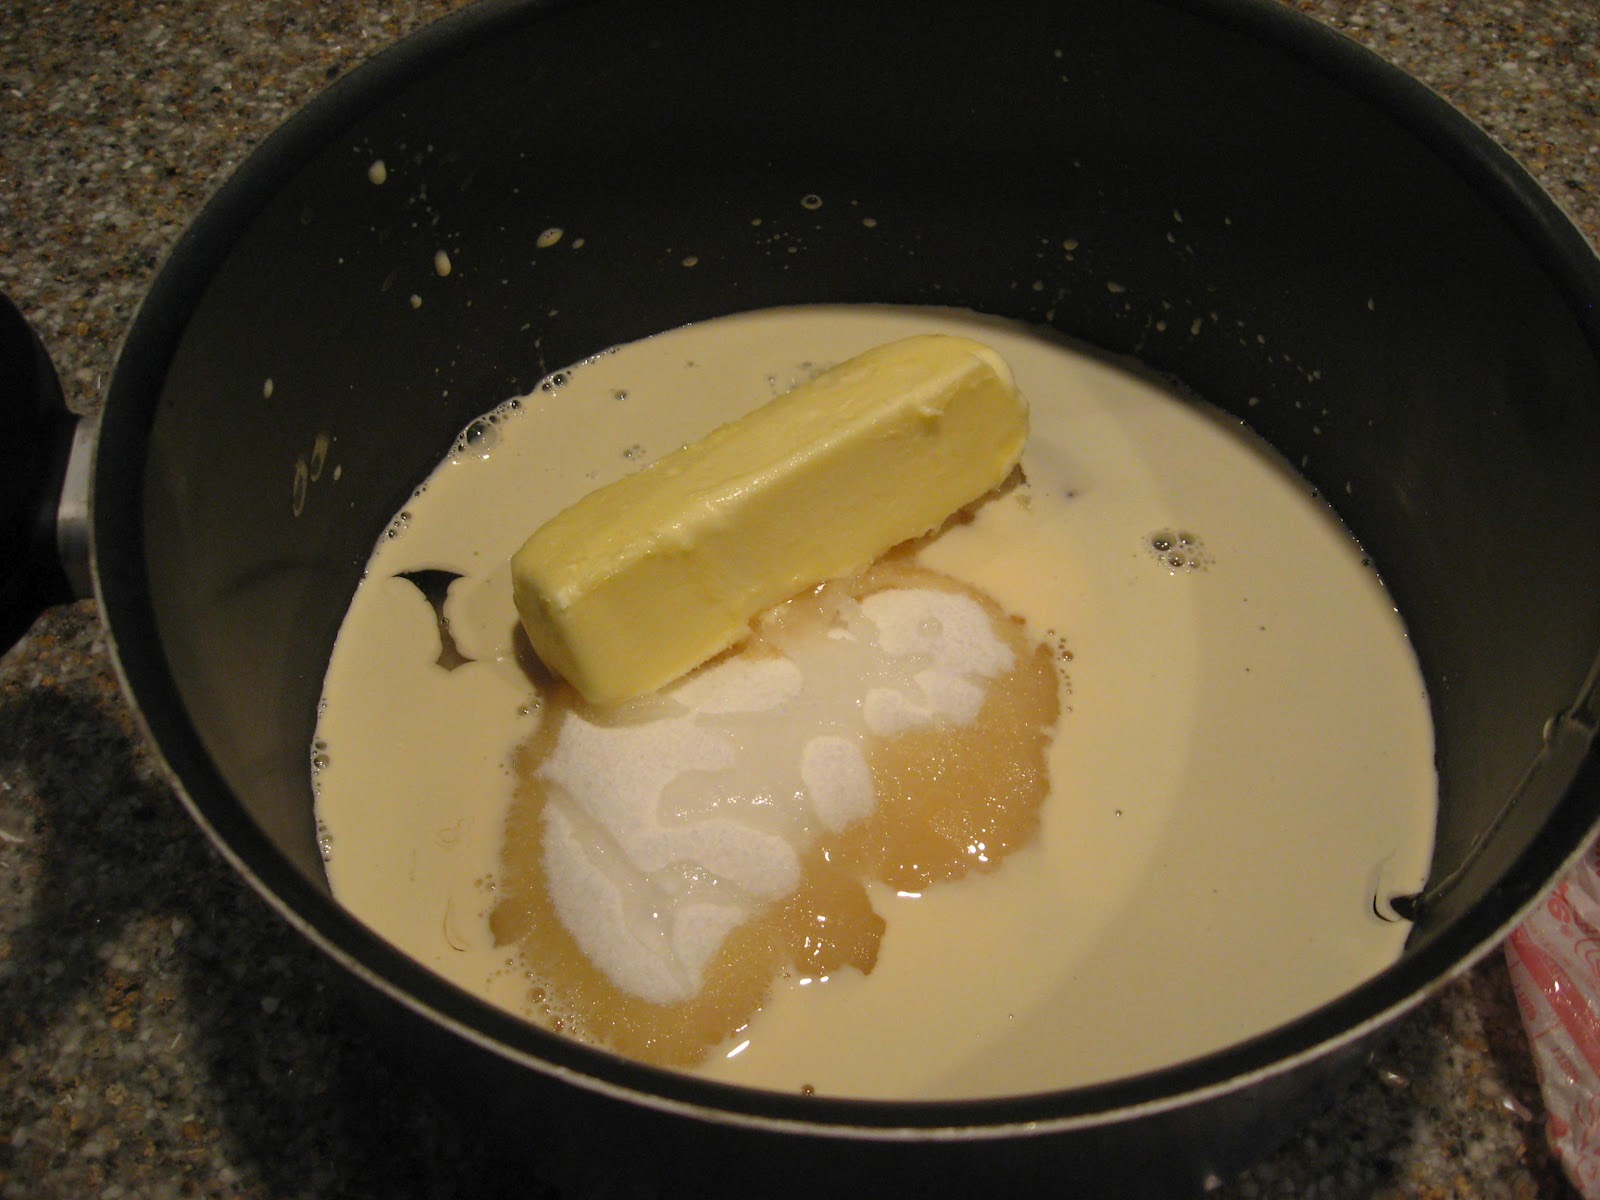
Here's what we need: 2 cups white Sugar
1 1/2 cups white Karo
1 stick of butter
1 can evaporated milk
1 teaspoon vanilla
1 cup of chopped nuts (we didn't have, so we didn't add)
Mix sugar, Karo, butter and 1/4 of the milk.
Cook to soft ball (235 degrees).  Since I no longer have a clip on my thermometer, this was a tricky process, we were stirring, holding the thermometer and holding the pan still.  
Meanwhile: Sadie was buttering the cookie sheet.
I'm not an expert when it comes to soft ball (...except..."Doves are #1"...Summer softball, age 5-9) , so this is what it looked like when we decided it was ready for the next step:
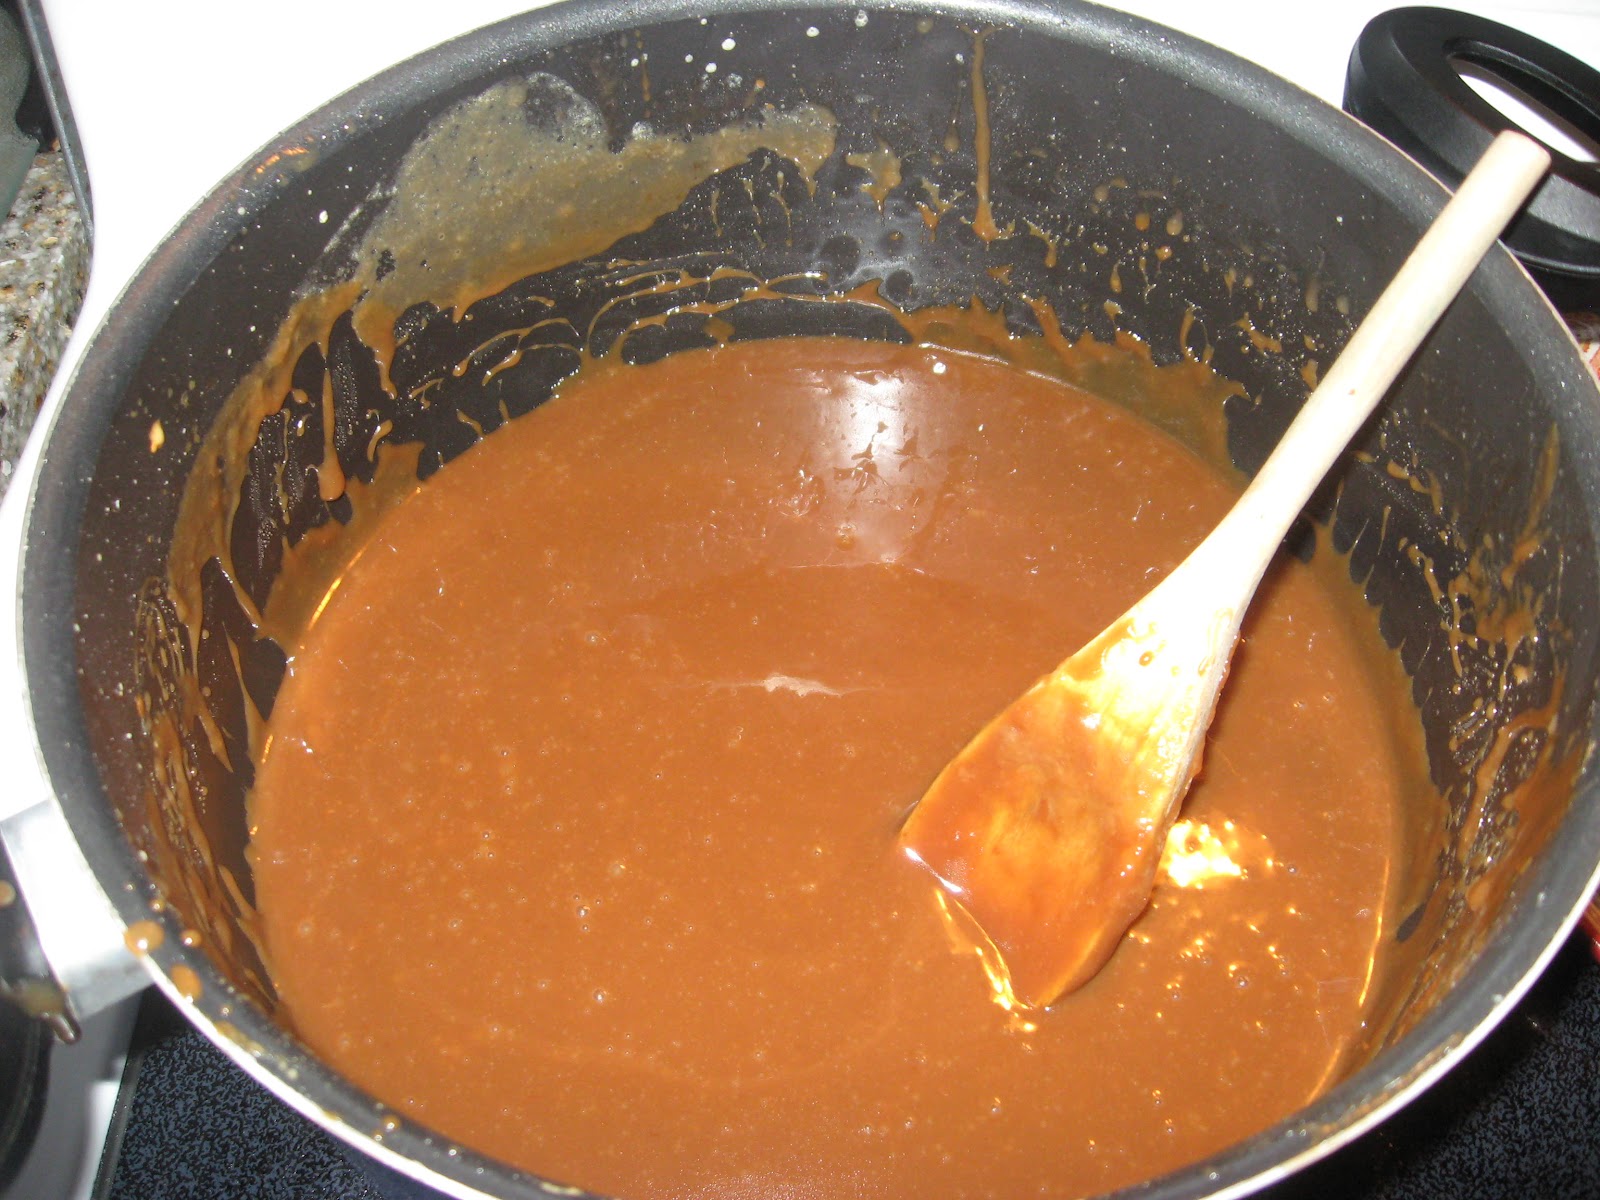
Keep mixture boiling while adding the remaining milk.
Remove from heat, add vanilla (and nuts if you have them)
looks very caramel-like!
Pour in a greased shallow pan.
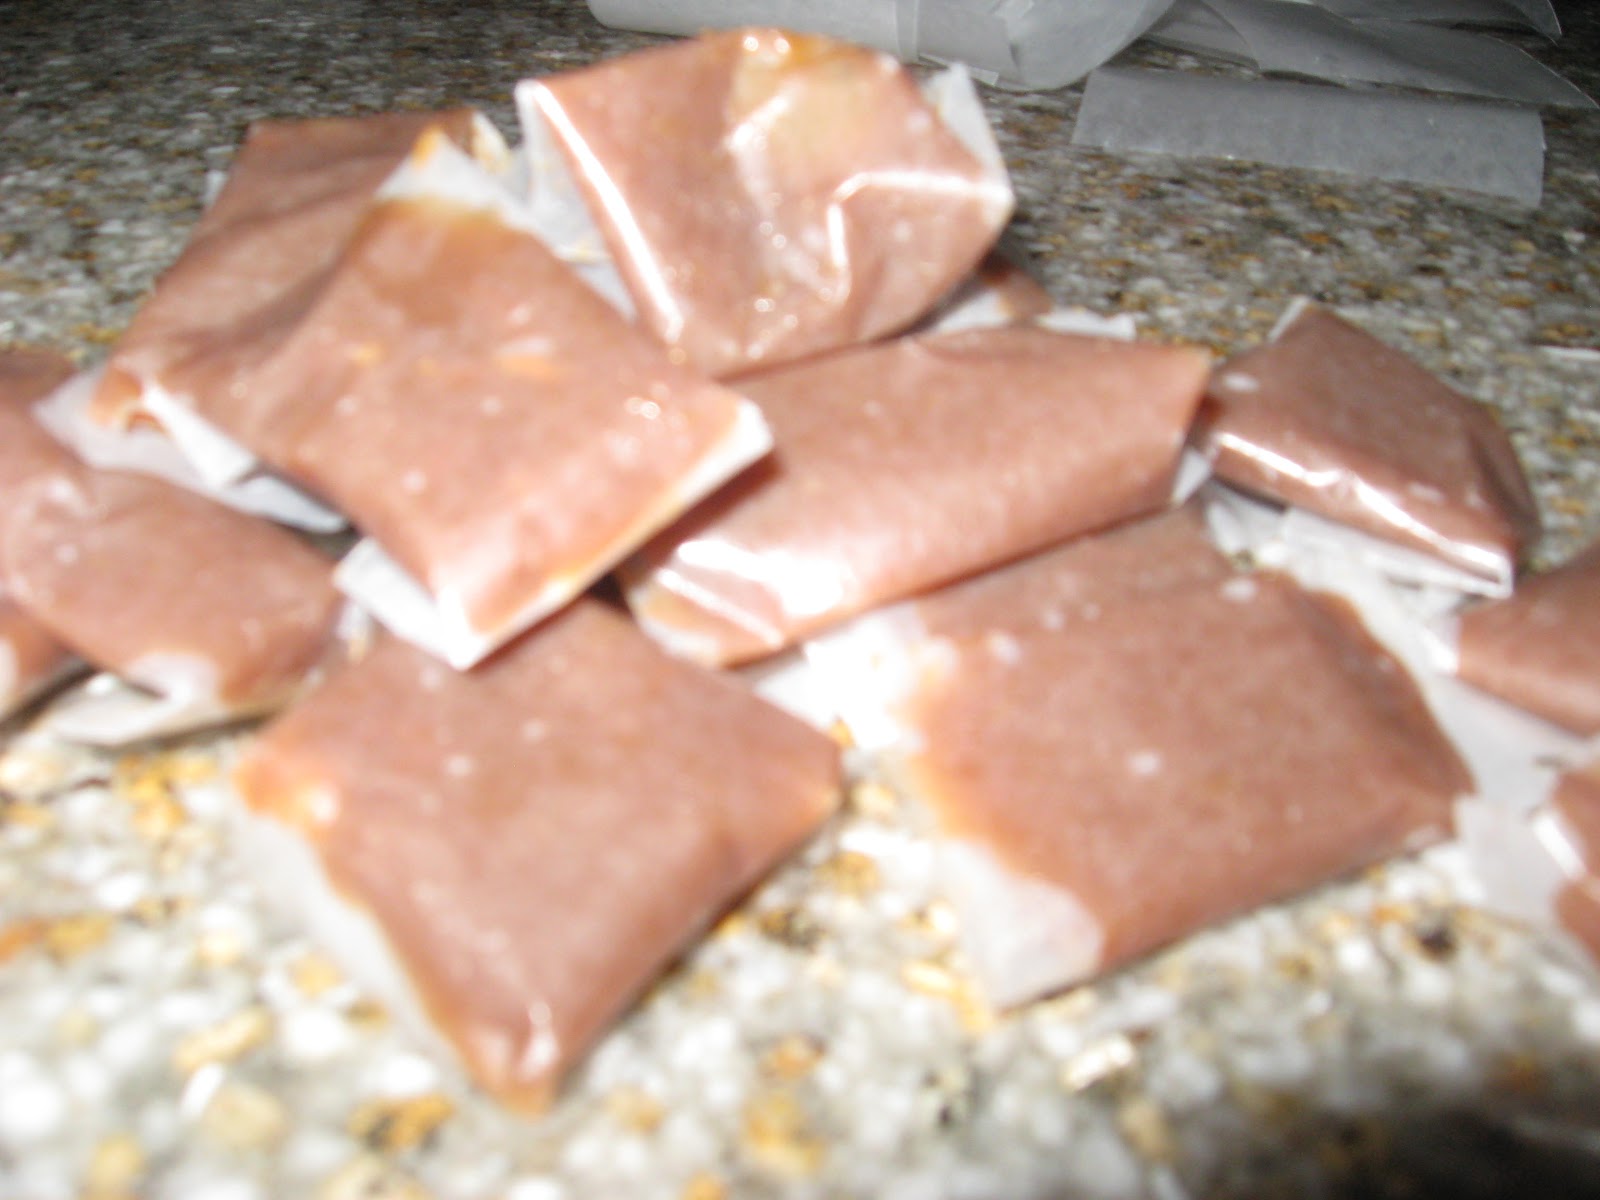
When cool, cut in squares:
I put it in the freezer for a few hours, because it was real sticky.  It was so much easier to cut after being in the freezer! Next, wrap the squares in wax paper.
Mountain Caramel :)
They didn't get hard, like I thought they should, but I also omitted the nuts.  They taste delicious and hopefully I can master this recipe before Fall, if not I will be using it for apple dip!

Wednesday, August 8, 2012

Bread Pudding

I hadn't made Bread Pudding in several years; I thought I was the only one in the house that liked it! In fact, I loved it as a kid!  I had to have it in a certain bowl, hot from the oven, surrounded by milk (like a bread pudding island).

So last week I had a bad day :( and I need the ultimate comfort food...bread pudding...and I didn't care if I had to eat it all myself, it would be worth it.  I called my mom and got her recipe, it's not real exact but hopefully the pictures will help!

Here's what you need:
Ingredients
bread
1 cup sugar
1/2 cup brown sugar
cinnamon
1 egg
1/3 cup flour
raisins
1 teaspoon vanilla
pinch salt
milk (I used evaporated milk 1 1/2 cans)
Crumble the bread and place in a greased casserole dish stir in the remaining ingredients and cook at 350 degrees for 1 hour.
The final product...
It tasted just as good as I remembered!  I didn't take a picture of it in my bowl with milk around, I was too busy eating it!  Unfortunately, the whole family liked it so I didn't get to eat it all to myself!


Blogging tips